Override Shopify Customer with Xero Contact ID customer tag
What it does
When enabled, the app checks the customer on each order. If the Shopify customer profile contains a tag that matches a Xero Contact ID (the ID at the end of a Xero contact URL), the app uses that Xero contact as the authoritative customer for that Shopify customer's invoices in Xero.
How it works
- It inspects the Shopify customer's
tagsand looks for a valid Xero Contact ID (the ID at the end of a Xero contact URL). If it finds one, it posts invoices for that Shopify customer to the corresponding Xero contact. - It uses the first matching tag that looks like a Xero Contact ID, so the Xero ID should be the first tag for reliable matching.
- If no valid Xero Contact ID tag is found on the Shopify customer, it falls back to its default customer-matching behaviour and attempts to match the customer by email.
Important: The Xero Contact ID must be added to the Shopify customer profile before an order for that customer is created. Shopify snapshots customer data at order creation, so tags added afterward aren't included in historic orders. If you add the Xero ID as a customer tag after an order was created, you can repost the order — the app will reprocess it and update the invoice in Xero to use the tagged contact.
How to set it up
- Enable the feature
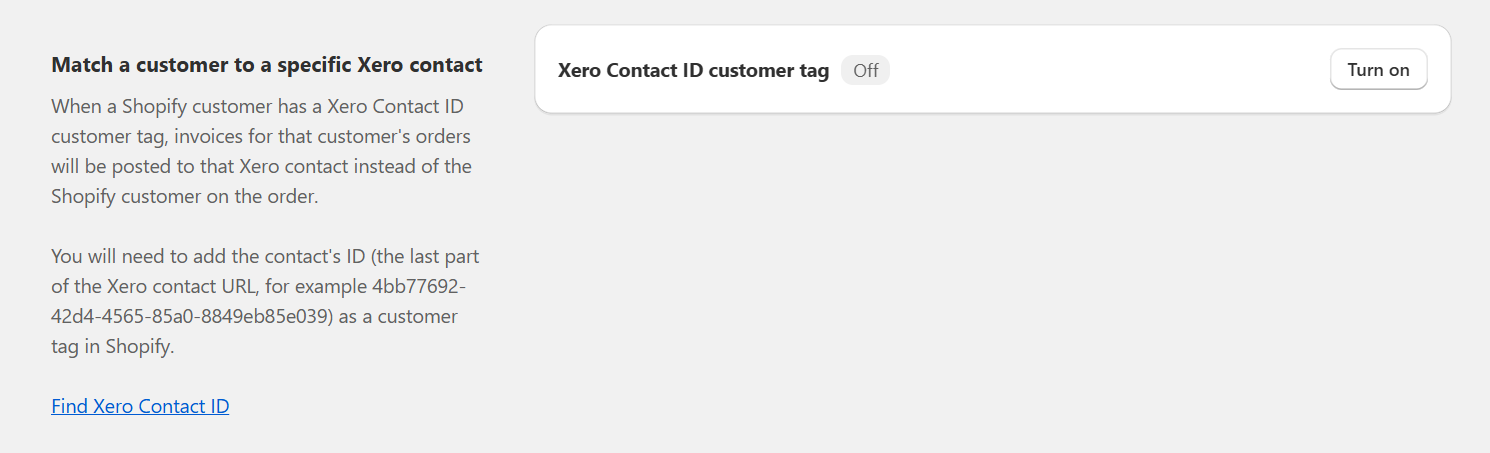
Go to Setup - Advanced and enable Xero Contact ID customer tag.

- Find the Xero Contact ID
Open the contact in Xero and copy the last part of the URL.
Example:https://go.xero.com/app/contacts/contact/4bb77692-42d4-4565-85a0-8849eb85e039
ID: 4bb77692-42d4-4565-85a0-8849eb85e039
- Add the ID as a customer tag
On the Shopify customer profile, add the ID as a tag (make it the first tag when possible).
Example tag: 4bb77692-42d4-4565-85a0-8849eb85e039
- Verify
Create a new order for that customer (or wait for the next order), then confirm the invoice posts to the intended contact in Xero..